Creating a new user account is a simple process. First, on the admin panel, you have to go to WordPress Sidebar Menu → Users → Add New.
A screen is displayed as shown below:
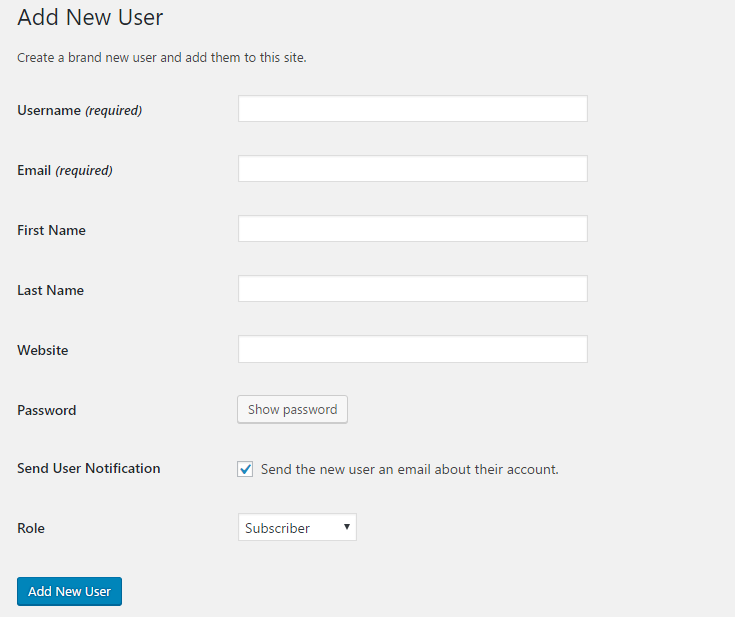
The first few fields here are self-explanatory. You have to enter some mandatory and optional details for the new user.
The mandatory details include:
- Username
The optional fields are:
- First Name
- Last Name
- Website
Next, the password field has a Show password button.

Once you click this, you see there is an auto-generated password for the user. There is a Show/Hide button to reveal the password or wrap it underdots. Also, you can see a field indicating the strength of the password. In the below example, the password is strong.
Click the Cancel button to set your own password. Make sure you create a strong password; read this article if you are not sure why.

Next field is ‘Send User Notification’. You can enable this by ticking the checkbox to send an intimation mail to the new user’s email id.

Defining the new user role
The most important part of creating a new user account is deciding the user role of the account. You can read more about various user roles and capabilities in this article.
Click the drop-down to choose the user role for the new account

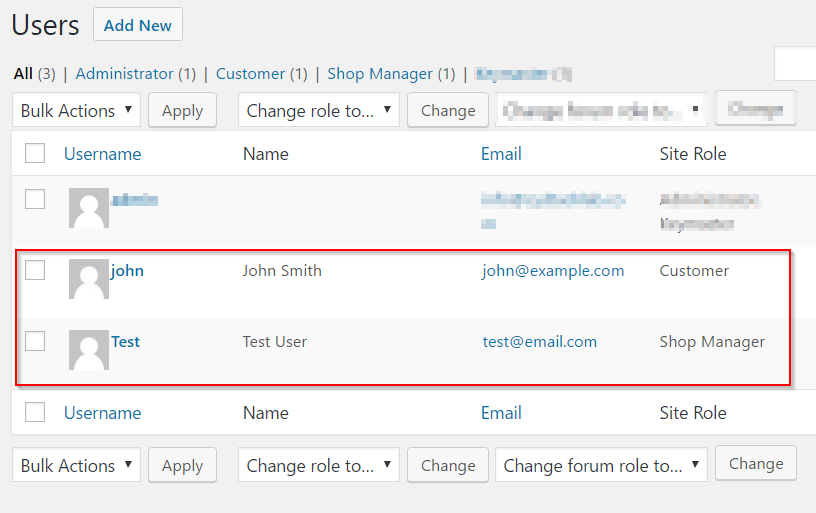
Once you complete entering all the details, click the Add New User button. You have created a new user account; you can see it listed along with other users.
Editing the user profile
Once a user account is created, you can edit and modify the different aspect of the profile.
For this, from the list of all users, hover the cursor around the one that you want to edit and click ‘Edit.’

You can modify the following in the ‘Edit User’ page.
- Personal Options – This concerns the display options for the user while viewing the site.
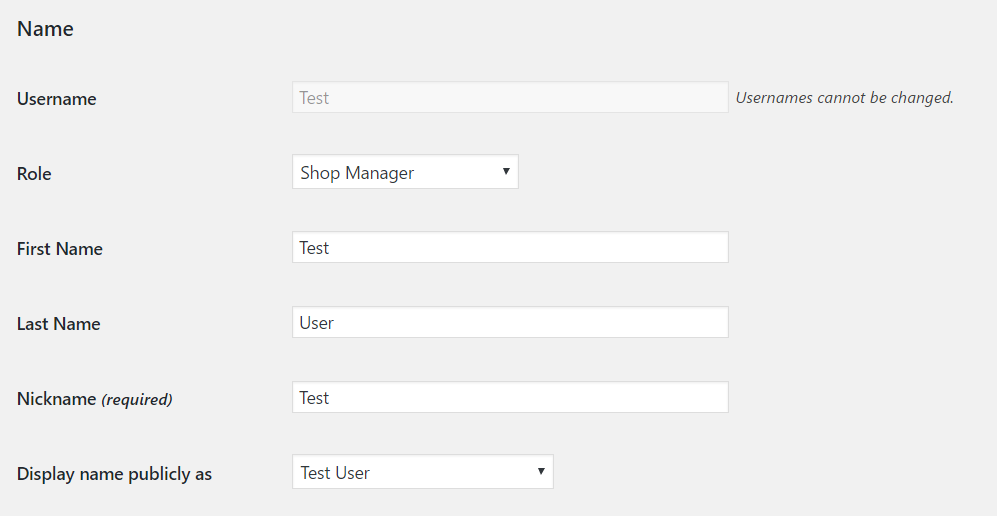
- Name – In this section, you can change the user role from a drop-down. In addition, you can also change the user’s first and last names, nickname, and public display name. Remember you cannot change the username though.
- Contact info – You can change the email and website here if required.
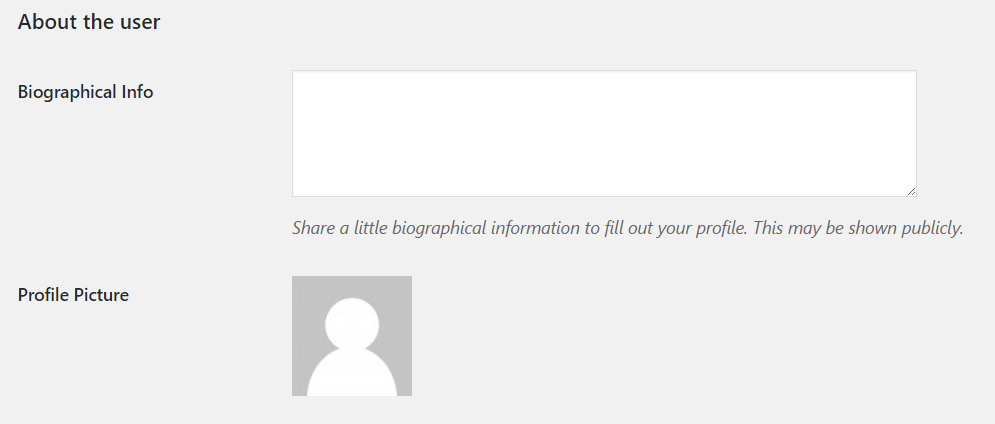
- About the user – Change the user bio and profile picture in this section.
- Account management – This section allows you to change the password for the user. Click the Generate password button for the new password.
- WooCommerce also adds a Customer billing and shipping address forms to all users. You can use it if required, or go through this WordPress support thread if you want to remove it.
Deleting the user account
As the site administrator, you can delete other user accounts as well. For this, you can go to Users → All Users.
One way to do this is by using the Bulk Actions drop-down. Select the account(s) you wish to delete by ticking the checkbox and click Apply button.

You can also delete the accounts by simply hovering the cursor around the username and clicking ‘Delete’.

Changing user role
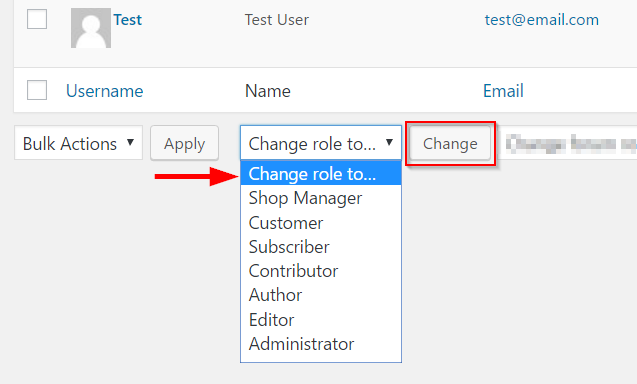
You can change the user roles also in a similar way. Tick the checkbox to select the users you want to modify. Select the new user role from the drop-down and click the Change button.
